|
Easter Bunny - Page 3 |
|
|
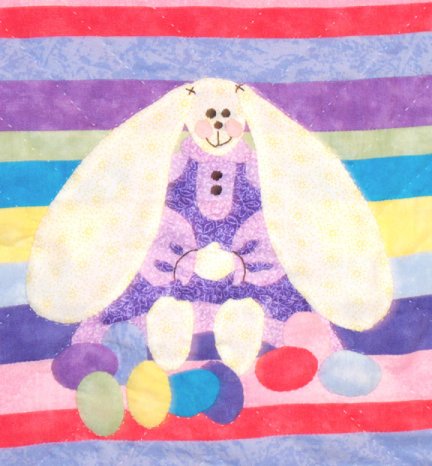
Now sew on the "sleeve shadows" to give depth to the
sleeves. Embroider on eyes and mouth. Sew on two small light pink
circles for cheeks. Embroider the buttons, or sew on real buttons.
Also embroider on the sleeve ends to insinuate cuffs, and
"stitching" to make the ears look sewn on... Next, using the template provided, cut 24 circles from eight of the pastels...4 in each color. Sew these right sides together in matching pairs. Cut the circles in half, turn right side out, and press. Lay them against the top edge of the quilt, starting in the upper left corner arrange then in varying order down the left side. Sew six more on the opposite side of the block, also in varying order. Overlap slightly if needed to make them fit to the sides.. |
|
|
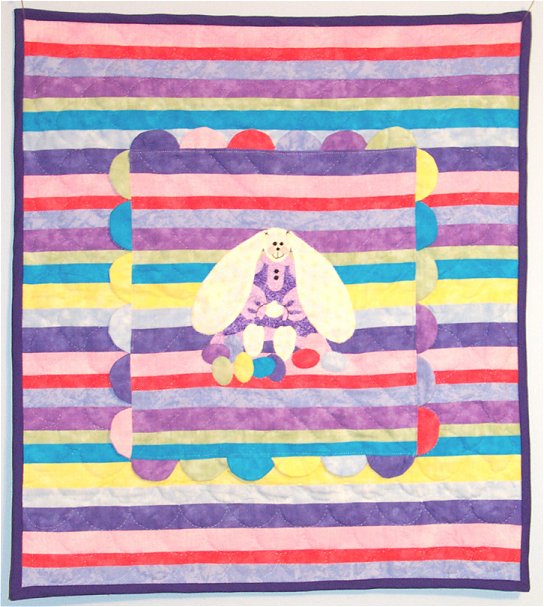
On the top of the quilt, starting at the left corner, sew six more half circles...and on the bottom, six more....whew! Got that job done! Press these scallops out, and the seam under! |

|
|
Center the above block, so that the strips line up, on top of the larger pieced unit, and top stitch the two layers together just inside the block edge. Quilt and bind as desired! You'll want to flip the scallops out of the way while quilting the larger square of the quilt, so that they stay free floating!* Note there is room on the border to appliqué eggs....Happy Easter...etc! Happy Quilting All! Marcia :o) |
|
** Supplies List ** |
| Nine pastel solids for the quilt's pieced background fabric, the eggs, and the scallop edging...about 1/4 yard by width of fabric for each color...PLUS the Pieces Below! |
| Pale yellow solid for bunny body parts = 3" x WOF strip - dress color for dress collars and sleeves = 6" x 12" rectangle - apron color for apron = 6" square | |
| Threads in all these colors for hand appliquéing the pieces down! |
|
|
|
||
|
Original Block |
http://www.quilterscache.com |